
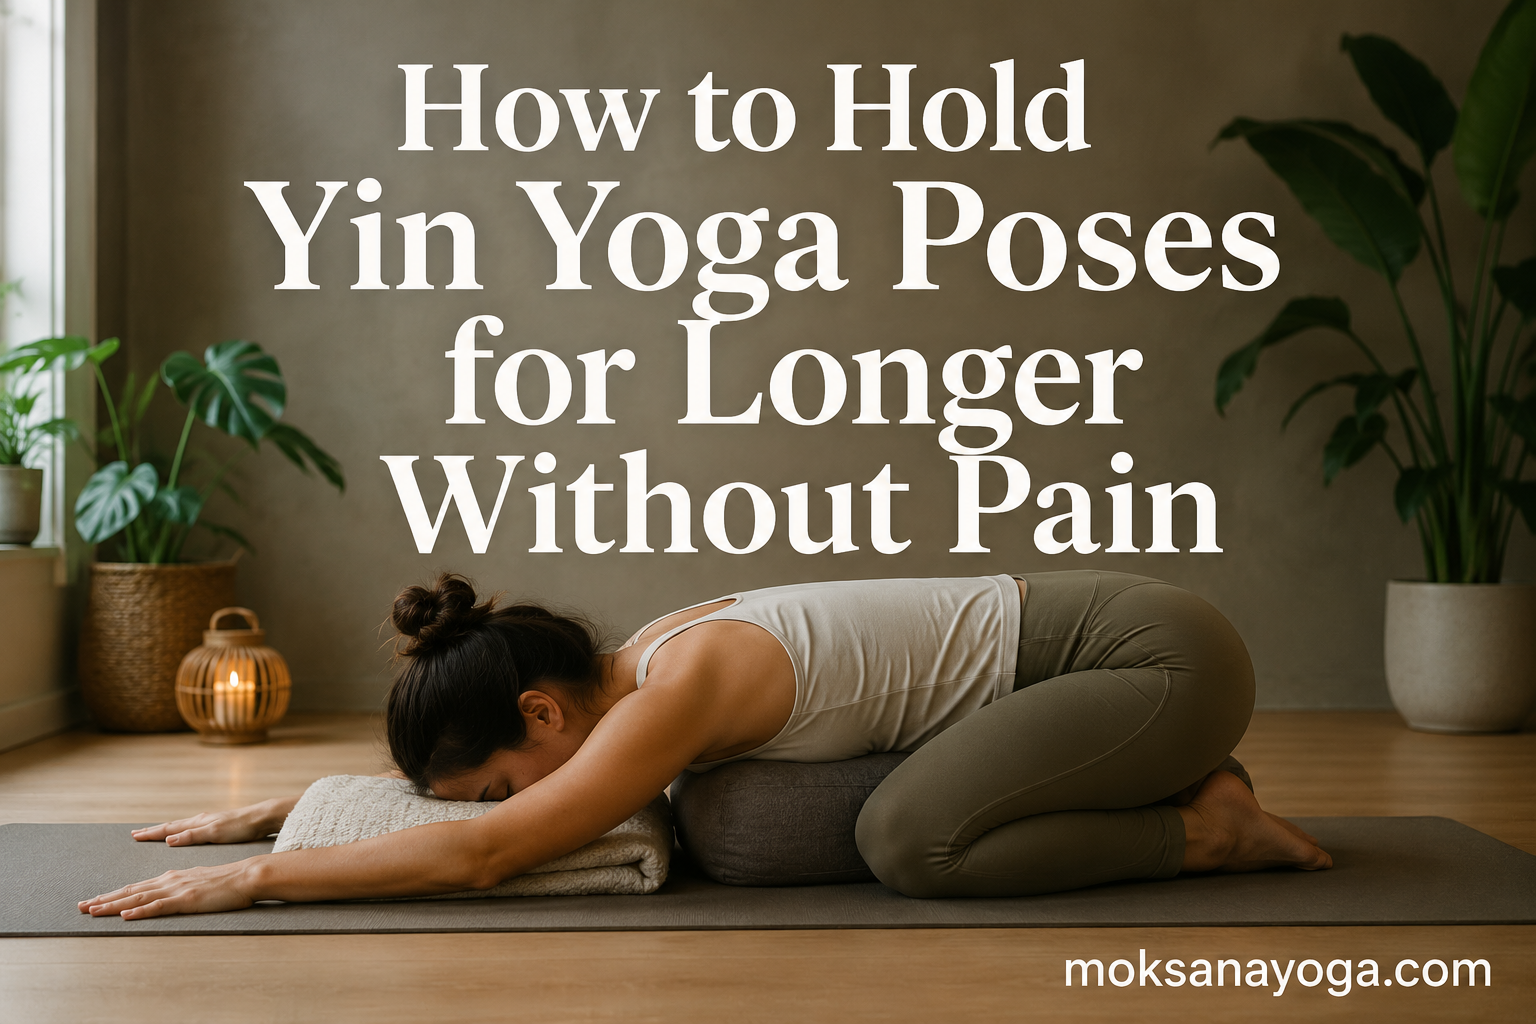
If you have ever settled into a Yin pose and felt your mind screaming to get out after ninety seconds, you are not alone. Learning how to hold yin yoga poses for longer without pain is one of the biggest challenges new practitioners face, but it is also where the deepest benefits live. Most beginners start with holds of one to three minutes, while experienced practitioners gradually build toward five to ten minutes per pose. The secret is not willpower or gritting your teeth. It is understanding your body’s sensation zones, using props strategically, and building both physical and mental tolerance step by step. In this guide, I will walk you through exactly how to extend your hold times safely, what sensations to expect, and how to stay calm when your mind wants to bolt.
Yin Yoga works differently from more active styles like Vinyasa or Ashtanga. Instead of engaging muscles, you relax them completely. Instead of moving with your breath, you find stillness and hold. This slow, passive approach targets the deep connective tissues around your joints, ligaments, and fascia. Those tissues respond to gentle, sustained pressure, not quick movement. When you hold a pose long enough, something remarkable happens. Your fascia begins to release, synovial fluid starts lubricating your joints, and your nervous system shifts into a deep state of rest.
The catch is that longer holds can feel uncomfortable, even intimidating, especially in the beginning. I remember my first Yin class. I thought I was flexible until the teacher said we would hold Dragon Pose for five minutes. By minute two, my hips were burning and my mind was negotiating hard. What I did not know then was that discomfort and pain are two very different things in Yin. Once I learned to read my body’s signals and use the right supports, everything changed. That is what I want to share with you here.
Table of Contents
Why Hold Yin Poses Longer? The Science Behind Extended Holds
Longer holds in Yin Yoga are not about endurance or proving something. They are about giving your body enough time to do what quick stretching cannot. Your muscles are warm, elastic tissue that responds fast. But the connective tissues around your joints, the fascia, ligaments, and tendons, are denser and slower to change. They need sustained, gentle loading to release and remodel.
Research and clinical experience suggest that around the three-minute mark, something shifts. Synovial fluid, the natural lubricant in your joints, begins to flow more freely under sustained pressure. Fascia, the web of connective tissue that wraps around every muscle and organ, starts to slowly release its grip. This is why teachers often describe the first two minutes of a Yin pose as warming up and the third minute onward as where the real work happens.
Beyond the physical changes, longer holds give your nervous system time to downshift. When you stay still and breathe, your body moves from sympathetic activation, the fight-or-flight state, into parasympathetic mode, the rest-and-digest state. Heart rate drops. Breathing slows. Stress hormones decrease. Many practitioners describe a deep sense of calm that only emerges after several minutes of stillness.
There is also a mental and emotional layer that shorter holds never touch. Staying in an uncomfortable but safe position for five minutes forces you to sit with whatever arises. Restlessness, frustration, boredom, even unexpected emotions can surface. Learning to observe those feelings without reacting is a form of meditation in itself. This is the piece most guides skip, and it is often the most transformative part of the practice.
How to Hold Yin Yoga Poses for Longer Without Pain: Hold Times by Experience Level
One of the most common questions I hear from students is how long they should actually hold each pose. The answer depends on your experience, your body, and the specific target area. There is no single number that works for everyone, but there are reliable guidelines that help you build safely.
Beginners (1 to 3 minutes): If you are new to Yin Yoga, start short. One to three minutes per pose gives your body time to adapt to this unfamiliar style without overwhelming your tissues or your mind. You are learning how to relax into a shape, how to breathe through sensation, and how to use props. That is plenty for your first few months. Rushing to five-minute holds before your body understands the practice often leads to strain or discouragement.
Intermediate (3 to 5 minutes): Once you have a consistent practice for a few months and your body feels stable in the basic poses, you can extend toward three to five minutes. This is the range where synovial fluid release and fascia remodeling really begin. You will likely notice that poses which once felt impossible at two minutes become more manageable at four. Your mind also settles more quickly because it knows what to expect.
Advanced (5 to 10+ minutes): Experienced practitioners who have been practicing Yin for a year or more can work toward five to ten minute holds, and occasionally longer for specific poses. At this level, the physical sensations are familiar, and the mental challenge becomes the primary focus. Long holds in poses like Saddle or Shoelace can go deep into connective tissue around the knees, hips, and lower spine. These extended holds should feel intense but never sharp, and you should always be able to breathe steadily.
Restricted mobility or sensitive joints: If you have knee issues, lower back pain, or limited range of motion, do not push toward longer holds. Stay in the one to three minute range and use generous prop support. The goal is gentle, sustained pressure on healthy tissue, not forcing joints into ranges they cannot tolerate. Less time with better alignment always beats more time with poor alignment.
The Sensation Zone Framework: Green, Orange, and Red
This framework is the single most useful tool I have found for understanding how to hold yin yoga poses for longer without pain. It comes from the Yin teaching tradition and gives you a clear way to read what your body is telling you during each pose. Think of it as a traffic light system for sensation.
Green Zone (too little sensation): You feel almost nothing. The pose is comfortable, maybe even easy. While this feels pleasant, it means you are not stressing the target tissue enough to create change. If you are in the green zone, slowly deepen the pose slightly until you feel a mild, dull ache in the connective tissue area. This might be the front of the hip in Dragon, the outer hip in Shoelace, or the lower back in Caterpillar. Green zone is your starting point, not your destination.
Orange Zone (the sweet spot): This is where you want to live during a Yin pose. You feel a clear, moderate sensation in the target area. It might be a dull ache, a stretching feeling, or a gentle pulling. You can breathe calmly and remain still without fighting the sensation. The orange zone is sometimes described as about 50 to 70 percent of your maximum edge. It is enough to create change in the connective tissue, but not so much that your body tenses up to protect itself. Most of your hold time should be spent here.
Red Zone (too much sensation): Sharp pain, electrical sensations, numbness, tingling, or a feeling that something is wrong. If you hit the red zone, you have gone too far. Back off immediately. Reduce the depth of the pose, add a prop, or come out entirely. Pain in Yin is not a sign of progress. It is your body warning you that tissue is being stressed beyond its safe capacity. Honoring the red zone is what keeps Yin safe, even with long holds.
Finding your edge means starting in the green zone, sinking slowly toward orange, and never crossing into red. As you hold the pose, your tissues will slowly release. What started as orange may drift back toward green after two or three minutes. At that point, you can gently deepen the pose again to return to orange. This micro-adjustment is how experienced practitioners sustain long holds without pain.
Tips for Holding Yin Poses Safely
Knowing the theory is one thing. Putting it into practice is another. These are the techniques I use personally and teach to students who want to extend their hold times without discomfort or injury.
1. Use props generously. Props are not a sign of weakness in Yin. They are essential tools for creating the right amount of stress on the right tissues. A bolster under the torso in Child’s Pose lets you hold for five minutes comfortably. A folded blanket under the hips in Shoelace takes pressure off the knee. Blocks under the thighs in Butterfly support the legs so connective tissue, not muscles, bears the load. If you are not using props, you are probably working harder than you need to.
2. Enter and exit slowly. Yin poses should be entered with care, not momentum. Move into the shape gradually, pausing to feel the sensation build. When you come out, move even more slowly. Your tissues have been under sustained load for several minutes, and sudden movement can cause a jerk or spasm. Take at least thirty seconds to enter and another thirty to exit. Treat the transition as part of the practice, not a break from it.
3. Feel sensation in the tissue, not the joint. This is a critical distinction. Healthy Yin sensation feels like a dull stretch or ache in the belly of a muscle or along a connective tissue line. Unhealthy sensation feels sharp, electrical, or localized precisely in a joint capsule. If you feel pressure inside the knee joint, the hip socket, or the spine itself, back off. The sensation should be in the surrounding tissue, not deep inside the joint.
4. Breathe as your anchor. Your breath is the most reliable indicator of whether you are in the orange or red zone. If you can breathe slowly and smoothly, you are in a safe range. If your breath becomes ragged, shallow, or you catch yourself holding it, you have gone too deep. Use a slow, steady breath throughout the hold to calm your nervous system and keep your mind focused.
5. Work with mental restlessness. The hardest part of long holds is often not physical. After two or three minutes, your mind will likely start negotiating. You will think about your to-do list, wonder how much time is left, or convince yourself the pose is over. This is normal. Instead of fighting the restlessness, observe it. Label it. Say to yourself, this is restlessness, and return to your breath. Over time, the mental chatter quiets just like the body does.
6. Take deliberate rest between poses. In Yin, the rest after a pose is just as important as the pose itself. When you come out, lie flat or sit quietly for one to two minutes. This is called a rebound pose. It lets your tissues rehydrate with synovial fluid and lets your nervous system integrate the work. Skipping the rebound is one of the most common mistakes I see in students who are trying to fit more poses into a session.
Breathing Techniques for Long Holds
Breath is your best friend when you are learning how to hold yin yoga poses for longer without pain. The right breathing technique calms your nervous system, distracts your busy mind, and helps you stay present with sensation instead of pulling away from it. Here are three approaches I rotate through depending on the pose and how I am feeling.
Slow belly breathing: Place one hand on your lower belly. As you inhale, feel the belly expand softly. As you exhale, feel it fall. Keep the breath slow, smooth, and quiet. Aim for a count of four on the inhale and four on the exhale, or whatever pace feels natural. This activates the parasympathetic nervous system and signals to your body that it is safe to relax into the stretch.
Counted breath for restlessness: When your mind gets loud, give it something to do. Count each exhale backward from ten. Inhale, exhale ten. Inhale, exhale nine. Continue down to one, then start over. If you lose count, just begin again at ten. This simple technique gives your attention a focal point and prevents the spiral of discomfort-driven thoughts that can make a pose feel unbearable.
Body scan technique: Instead of focusing on the breath, move your attention slowly through your body. Start at the crown of your head and scan downward, noticing each area without judgment. By the time you reach the target area of the pose, you may find the sensation has shifted or softened. This technique works especially well for poses held five minutes or longer, where the mind needs variety to stay engaged.
Common Mistakes to Avoid When Holding Yin Poses
Most discomfort in Yin Yoga does not come from the practice itself. It comes from avoidable mistakes that practitioners make, often without realizing it. Here are the ones I see most often, along with how to fix them.
Mistake 1: Forcing long holds too soon. Jumping from one-minute holds to five-minute holds overnight is a recipe for strain. Your connective tissues need time to adapt, just like muscles do. Build gradually, adding thirty seconds to one minute at a time over weeks of consistent practice. If a pose feels painful after two minutes, do not try to push to five. Stay at two until two feels easy.
Mistake 2: Ignoring signals from your body. Sharp pain, tingling, numbness, and electrical sensations are not things to breathe through. They are warnings. If you feel any of these, come out of the pose or modify it. Many practitioners, especially those from athletic backgrounds, have been taught that pain is gain. In Yin, pain is a stop sign.
Mistake 3: Treating Yin like a stretching competition. Yin is not about how far you can fold or how deep you can sink. Going deeper does not mean you are getting more benefit. In fact, overstretching in Yin can strain ligaments and destabilize joints. The goal is appropriate stress on the target tissue, not maximum range of motion. Some days your edge is deeper than others, and that is perfectly fine.
Mistake 4: Not using props. I see this constantly. Students think props are cheating, so they suffer through a pose with no support. Then they conclude that Yin is painful and quit. Props make long holds possible. They take the load off your muscles and direct it into the connective tissue where it belongs. Use a bolster, a block, or a blanket whenever a pose feels like it is asking too much.
Mistake 5: Skipping rest between poses. The rebound after a Yin pose is when the magic happens. Your tissues rehydrate, your nervous system resets, and the benefits of the hold integrate. If you rush from one pose into the next, you shortchange this process. Always budget one to two minutes of stillness between poses, even if it means doing fewer poses overall.
Transitioning Between Yin Poses
How you move between poses matters as much as the poses themselves. Transitions in Yin are slow, mindful, and intentional. They are not a race to the next shape. After you exit a pose, lie on your back or belly and let your body rest completely. This is the rebound, and it serves a specific purpose.
During a long hold, fluid is squeezed out of your connective tissues. When you release the pose, that fluid rushes back in, rehydrating the tissue and flushing metabolic waste. If you skip this phase, you lose much of the benefit. A good rule of thumb is to rest for at least one minute, or about one-third of your hold time, before moving to the next pose.
Counter poses also play a role in transitions. After a deep forward fold, a gentle backbend can help restore balance. After long hip openers, a mild twist or a wide-knee Child’s Pose helps the body integrate. The key word is gentle. Counter poses should feel relieving, not like another deep stretch stacked on top of the last one.
Signs You Are Ready for Longer Holds
Extending your hold times is not something you should force. Your body will tell you when it is ready. Here are the signs I look for in myself and in students before suggesting longer holds.
Physically, you should be able to hold your current duration while breathing calmly the entire time. If you are still catching your breath or tensing your jaw at two minutes, you are not ready for five. You should also be able to find the orange zone reliably, meaning you know what appropriate sensation feels like and can stay there without drifting into red.
Mentally, you should be able to stay present without constant distraction. The restlessness will never fully disappear, but if you are still completely derailed by it, give yourself more time at your current level. Consistency matters too. Practicing two or three times per week for a few months builds the tissue tolerance and mental familiarity needed for longer holds.
Finally, you should feel good after your practice. Not wiped out, not sore, not depleted. If you consistently feel worse after Yin, something is off. It might be hold time, depth, or prop use. Adjust and observe. Yin should leave you feeling open, calm, and rested.
Best Time of Day for Longer Yin Holds
Most experienced Yin practitioners prefer practicing in the evening, and there are good reasons for this. Your body is naturally warmer and more open later in the day, which makes long holds more accessible. The calming nature of Yin also pairs perfectly with winding down before sleep. A thirty to forty-five minute session in the evening can improve sleep quality and reduce overnight muscle tension.
Morning practice is possible but requires more care. Your tissues are stiffer after a night of stillness, so longer holds can feel more intense. If you practice in the morning, warm up with gentle movement first. Five minutes of Cat-Cow, easy twists, and shoulder rolls prepares your body without taking it out of the Yin mindset.
Ultimately, the best time is the one you will stick with consistently. A regular ten-minute evening practice beats an inconsistent hour-long session once a week. Find your rhythm and let it build naturally.
FAQs
How long should you hold yin yoga poses?
Beginners should hold yin yoga poses for 1 to 3 minutes. Intermediate practitioners can work toward 3 to 5 minutes. Advanced practitioners with consistent experience may hold poses for 5 to 10 minutes or longer. The key is to stay in the orange zone of sensation, where you feel a clear but manageable stretch, and never push into sharp pain.
What are common mistakes in yin yoga?
The most common mistakes are forcing long holds too soon, ignoring sharp pain signals, treating yin like a stretching competition, skipping props, and not resting between poses. Yin should never cause sharp or electrical pain. If you feel those sensations, back off or come out of the pose immediately.
Is yin yoga good for back pain?
Yes, yin yoga can help relieve back pain when practiced correctly. Gentle poses like Child’s Pose, Caterpillar, and supported twists can release tension in the lower back and along the spine. However, if you have acute back pain or a diagnosed spinal condition, consult a healthcare provider before starting and use props to keep poses gentle and supported.
Can you hold a yoga pose too long?
Yes. Holding a yin pose beyond your body’s capacity can strain ligaments, irritate joints, and destabilize connective tissue. Signs you have held too long include sharp pain, numbness, tingling, or soreness that lasts more than a day after practice. Build hold times gradually and always honor your body’s signals.
How do you know when to come out of a yin pose?
Come out of a yin pose if you feel sharp or electrical pain, numbness, tingling, or if your breath becomes ragged and forced. You should also exit slowly if the sensation shifts from a dull stretch to a burning or stabbing feeling. When in doubt, come out early and rest. You can always re-enter the pose more gently.
Why does yin yoga hurt sometimes?
Yin yoga can feel uncomfortable because it targets dense connective tissue like fascia and ligaments, which are less elastic than muscle. This discomfort is normal when it is a dull, stretching ache in the target area. Sharp pain, joint pain, or electrical sensations are not normal and mean you should back off or modify the pose.
Conclusion
Learning how to hold yin yoga poses for longer without pain is a gradual journey that rewards patience over force. Start where you are, whether that is one minute or five. Use the sensation zone framework to find your edge and stay in the orange. Lean on props, breathe steadily, and give yourself time to rest between every pose. The connective tissues in your body change slowly, and trying to rush that process only leads to frustration or injury.
The mental practice is just as important. Long holds teach you to sit with discomfort, observe your reactions, and let go of the urge to escape. That skill carries far beyond your yoga mat into how you handle stress, difficult conversations, and the challenges of daily life. If you stay consistent, you will find that what once felt impossible at two minutes becomes a calm, steady presence at five. That is the real gift of Yin Yoga.
Begin with a short session this week. Pick three poses, hold each for two minutes, and notice what arises. Your body and mind will thank you.