
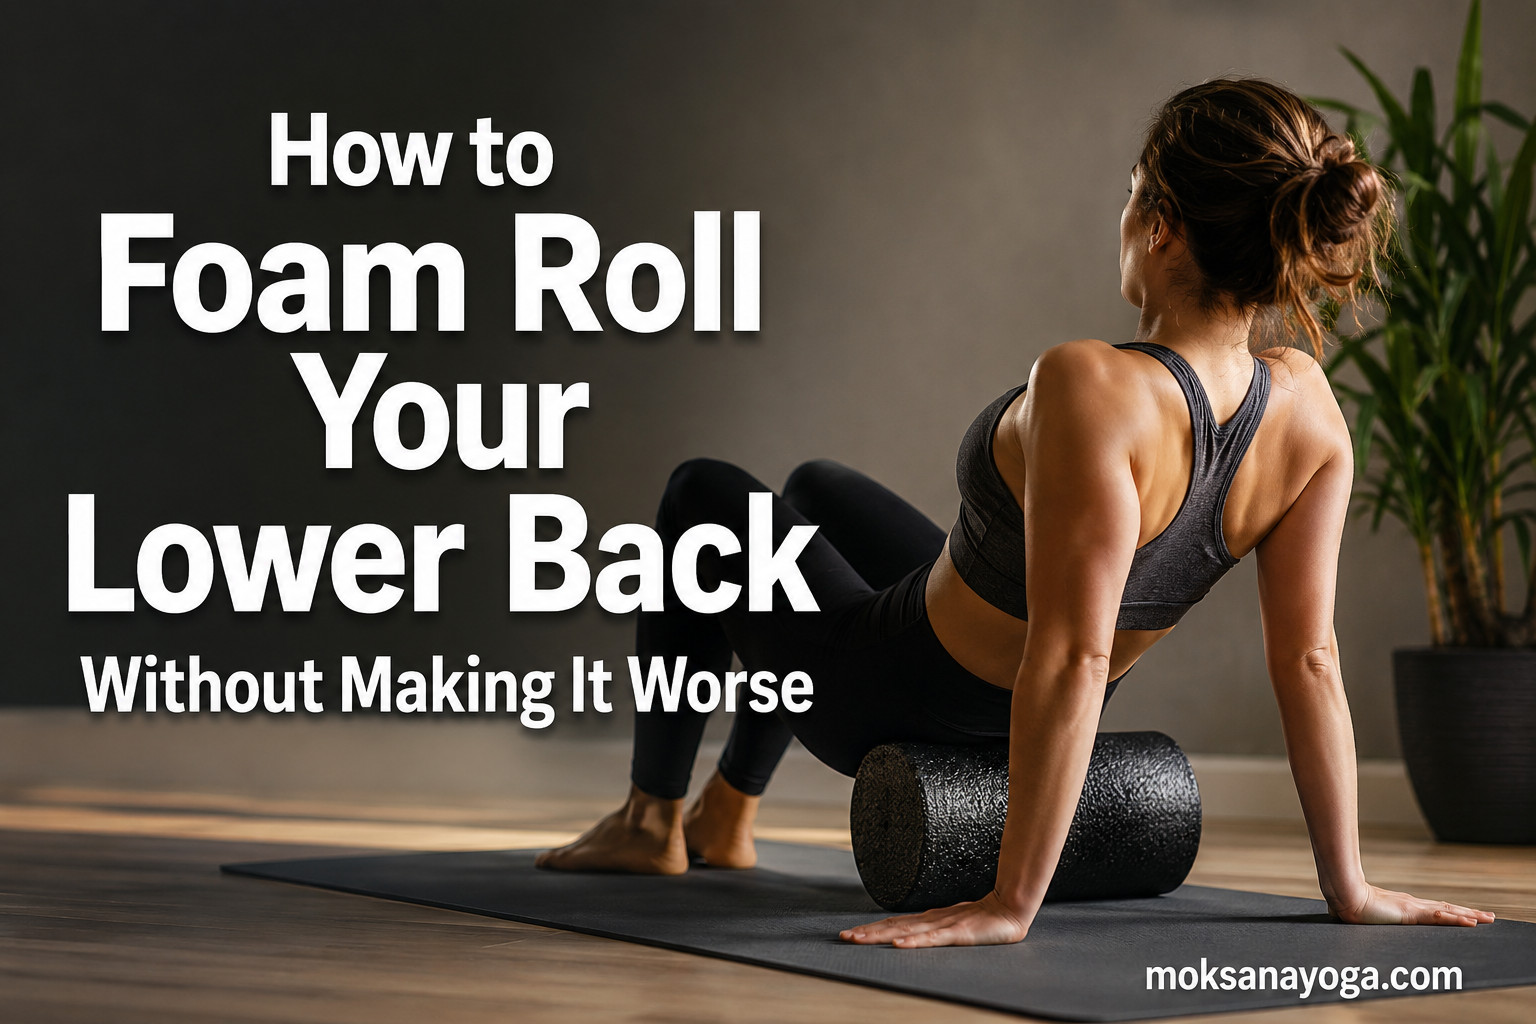
Learning how to foam roll your lower back without making it worse comes down to one rule: never roll directly on the lumbar spine. Instead, you target the muscles surrounding it. The glutes, hips, quadratus lumborum, and thoracic spine are the areas that actually drive most lower back tension, and foam rolling those regions safely can bring real relief.
If you have ever placed a foam roller under your lower back, felt a sharp twinge, and wondered whether you just made things worse, you are not alone. I have been there too, and the conflicting advice online does not help. Some sources say never roll your lower back, while others show it as a standard recovery move. The truth sits in the middle, and it depends entirely on technique.
In this guide, I will walk you through exactly what to avoid, which muscles to target instead, and a step-by-step method you can follow at home. Whether you are dealing with tightness from sitting at a desk all day or soreness after an intense yoga flow, this approach helps you release tension safely.
Table of Contents
Why the Lower Back Is Different From the Rest of Your Spine
The lower back, or lumbar spine, has a structure that makes it uniquely vulnerable to foam rolling mistakes. Understanding this anatomy is the first step to protecting yourself.
Your thoracic spine (mid-back) connects to the rib cage, which provides a natural layer of cushioning and structural support. When you roll the upper back, those ribs distribute pressure across a wide surface area. The lumbar spine has no such protection. Below the ribs and above the pelvis, the lower back is exposed.
Five large vertebrae (L1 through L5) carry most of your body weight, and they are separated by discs that act as shock absorbers. The bony bumps you feel along the center of your back are called spinous processes. When you place a foam roller directly under your lower back, those spinous processes take the brunt of the pressure.
Bones do not benefit from foam rolling. Muscles do. And the muscles you want to release in the lower back region are not actually on the spine itself. They sit to the sides, beneath the surface, and include the erector spinae, multifidus, and quadratus lumborum. A foam roller pressing into the center of your lumbar spine is hitting bone and joint tissue, not muscle.
The facet joints, which guide movement between vertebrae, are also vulnerable here. Direct compression on these joints can cause inflammation and trigger the very pain you are trying to relieve. This is why rolling the lower back incorrectly does not just fail to help, it actively makes things worse.
What NOT to Do: Common Mistakes That Make Back Pain Worse
Before we get to the right technique, let us cover the mistakes I see most often. Avoiding these five errors will immediately reduce your risk of injury.
1. Rolling Directly on the Lumbar Spine
Placing the roller perpendicular to your spine in the lower back area is the most common and most dangerous mistake. This compresses the vertebrae and discs directly. There is no muscle tissue on the spinous processes to benefit from the pressure, so you are essentially grinding a hard cylinder into bone.
2. Rolling Over Bones and Joints
Foam rolling should target soft tissue only. If you feel the roller catching on a bony ridge or you feel pressure in a joint rather than a muscle, you are in the wrong spot. The sacroiliac (SI) joint at the base of the spine is especially sensitive and should never be rolled directly.
3. Going Too Hard, Too Fast
More pressure is not better. I learned this the hard way. Sinking your full body weight into a dense roller on tight tissue can bruise muscles and irritate nerves. Start light, and only increase pressure once your body has relaxed into it.
4. Pushing Through Sharp Pain
There is a difference between the productive discomfort of a tight muscle releasing and the sharp warning pain of tissue being damaged. If the sensation is sharp, electric, or radiating, stop immediately. Dull, aching pressure is acceptable. Sharp pain is not.
5. Ignoring the Surrounding Muscles
Many people roll their lower back because their lower back hurts, but the actual source of tension is often in the glutes, hips, or hamstrings. Skipping these areas means you are treating the symptom, not the cause. I will show you how to address each of these in the next section.
Safe Foam Rolling for Lower Back Pain: Target the Right Muscles
Here is the secret that most guides miss: to foam roll your lower back safely, you do not roll your lower back at all. You roll the muscles that refer tension to it. Let me walk you through each area.
The Glutes and Piriformis
Tight glute muscles are one of the most common hidden causes of lower back pain. The piriformis, a small muscle deep in the buttock, can press on the sciatic nerve when tight, creating pain that radiates into the lower back and down the leg.
To roll the glutes, sit on the foam roller with one ankle crossed over the opposite knee. Lean your weight toward the crossed-leg side and slowly roll back and forth over the buttock. When you find a tender spot, hold still on it for 30 to 60 seconds while breathing deeply. The piriformis release alone can dramatically reduce lower back tension.
The Quadratus Lumborum (QL)
The QL is a muscle that runs from your pelvis to your lower ribs along the sides of your spine. When tight, it pulls on the lumbar vertebrae and creates that deep, aching lower back stiffness that feels like it will never go away.
For the QL, lie on your side with the foam roller positioned just above your hip bone. Roll slowly upward along the side of your torso, staying off the spine itself. If you hit a tender point, pause and breathe into it. This area can be intense, so use your top arm and bottom leg to control how much weight you place on the roller.
The Latissimus Dorsi
The lats are the large back muscles that run from your upper arms down to your lower back. Tightness here pulls on the thoracolumbar fascia, the connective tissue sheet that covers the lower back, and contributes to stiffness.
Lie on your side with your arm extended overhead and the roller under your armpit. Roll slowly down along the side of your ribs toward your waist. This releases the lower attachment of the lats and indirectly frees up the lower back.
The Thoracic Spine
This is the one area along the spine where direct rolling is safe and beneficial. The rib cage protects the vertebrae here, making it structurally far more resilient than the lumbar region.
Lie on your back with the foam roller under your shoulder blades. Support your head with your hands clasped behind your neck. Bend your knees, lift your hips slightly, and roll slowly from the base of your neck to the bottom of your rib cage. Improving mobility in the thoracic spine reduces the compensatory strain on the lower back below it.
The Hamstrings and Hip Flexors
Tight hamstrings lock the pelvis into a posterior tilt, and tight hip flexors pull it into an anterior tilt. Either imbalance shifts excessive load onto the lumbar spine. Rolling both of these muscle groups is a simple way to take pressure off the lower back.
For hamstrings, sit with the roller under the back of your thighs and roll from just below the glutes to just above the knee. For hip flexors, lie face down with the roller placed across the front of your hip and upper thigh, supporting yourself on your forearms.
Step-by-Step: How to Foam Roll Around Your Lower Back Safely
Now that you know which muscles to target, here is the complete step-by-step method I use and recommend to the people I coach.
Step 1: Choose the Right Roller
A high-density foam roller with moderate firmness works well for most people. If you are new to foam rolling or your back is sensitive, start with a softer roller. Dense, textured rollers dig deeper and can be too aggressive for tight, reactive tissue. Avoid PVC-core rollers until you have built up tolerance over several weeks.
Step 2: Warm Up First
Cold muscles resist release. Spend five minutes doing light movement before you start rolling. Cat-cow stretches, gentle torso twists, or a brisk walk all work. The goal is to increase blood flow so the tissue becomes more pliable and responsive.
Step 3: Position Your Body Correctly
Each muscle group has an optimal position, and I covered those above. The universal rule is to never let the roller sit on the lumbar spine itself. If the roller is anywhere between the bottom of your rib cage and the top of your pelvis along the centerline of your back, reposition.
Step 4: Breathe to Create Release
Slow, deep breathing signals your nervous system to relax. Exhale slowly as you settle onto a tender spot. If you hold your breath, your muscles brace against the pressure and the release never happens. I count a four-second inhale and a six-second exhale while holding on tight areas.
Step 5: Control Your Pressure
Use your supporting limbs to manage how much body weight rests on the roller. When a spot feels too intense, shift more weight onto your hands or feet to lighten the load. As the tissue releases over 30 to 60 seconds, you can gradually transfer more weight onto the roller.
Step 6: Roll Slowly and Pause on Tight Spots
Move at a pace of about one inch per second. Rushing through the movement does not give the tissue time to respond. When you find a tight area, stop completely and hold there. This static pressure is what triggers the Golgi tendon organ reflex, which tells the muscle to release.
Step 7: Keep Each Session Focused
Spend one to two minutes per muscle group. A full session covering glutes, QL, lats, thoracic spine, and hamstrings takes 10 to 15 minutes. Doing more than this in a single session can leave you sore rather than relieved.
How to Breathe During Foam Rolling for a Deeper Release
Breathing is the most underrated part of foam rolling, and almost no guide covers it. The way you breathe directly affects how much tension your muscles hold and how deeply they can release.
When you exhale slowly, your diaphragm relaxes and your parasympathetic nervous system activates. This is the rest-and-digest state where muscle tissue can actually let go. Inhale through your nose for four counts as you approach a tight spot, then exhale through your mouth for six counts as you settle into it.
Never hold your breath while foam rolling. Breath-holding creates bracing, which is the exact opposite of what you want. If you catch yourself holding your breath, the pressure is likely too high. Lighten up, reset your breathing, and try again.
Warning Signs: When to Stop Foam Rolling Immediately
Some sensations during foam rolling are productive. Others are warning signs. Knowing the difference protects you from serious injury. Stop rolling right away if you experience any of the following.
Numbness or tingling in your legs, feet, or toes. This suggests nerve compression and means the roller is pressing on or near a nerve. Reposition immediately.
Sharp, shooting pain that travels down your leg. This is a hallmark of sciatic nerve irritation. The piriformis or glute region is likely the culprit. Stop and try a gentler position.
Pain that increases during the session rather than decreasing. Productive foam rolling should feel slightly easier over time as the tissue releases. If it gets worse, your body is fighting the pressure rather than accepting it.
Pain that feels worse the next day. Some mild soreness similar to a workout is normal. But if your lower back feels significantly worse 24 hours later, the technique or pressure was wrong. Back off and reassess.
Any sensation of instability in your spine. If rolling produces a feeling that your back cannot support itself, or if you feel a clicking or popping accompanied by pain, stop and consult a professional.
When to See a Professional Instead of Foam Rolling
Foam rolling is a self-care tool, not a treatment for every type of back pain. There are situations where it should not be your first line of defense.
If you have had back pain for more than two weeks without improvement, it is time to see a physical therapist. Acute muscle tightness often resolves with self-care within 7 to 14 days. Pain that persists beyond that window may indicate a deeper issue.
Certain symptoms are red flags that require immediate medical attention. These include loss of bowel or bladder control, numbness in the saddle area (inner thighs, groin), progressive weakness in your legs, fever accompanying back pain, or back pain following a fall or accident. Do not attempt foam rolling with any of these present. Seek medical care.
For non-emergency but persistent issues, a physical therapist can identify whether your pain is muscular, nerve-related, or stemming from a disc problem. They will give you a targeted plan that may include foam rolling as one component alongside specific stretches, strengthening exercises, and manual therapy.
Foam Rolling and Yoga: Combining Both for Lower Back Care
As a yoga-focused community, we see foam rolling and yoga as complementary practices. Foam rolling prepares tissue, and yoga builds the strength and mobility that keeps pain from returning.
Use foam rolling before your yoga practice to release tight muscles and improve your range of motion. Rolling the glutes and hamstrings beforehand can make forward folds and seated poses far more accessible if you typically feel lower back strain in those positions.
After yoga, targeted rolling of the thoracic spine and lats helps release the muscles that worked during backbends and twists. For people with sensitive lower backs, I recommend modifying poses like Locust and Bridge by engaging the core more actively rather than pushing into the lower back.
Child’s pose, cat-cow, and supine twists pair beautifully with foam rolling as a complete lower back care routine. Roll first, then move through these poses slowly, breathing deeply. The combination addresses both the soft tissue restrictions and the movement patterns that contribute to pain.
FAQs
Is foam rolling bad for the lower back?
Foam rolling directly on the lumbar spine is bad for the lower back. It compresses the vertebrae, facet joints, and spinous processes without targeting any muscle tissue. However, foam rolling the muscles surrounding the lower back, such as the glutes, quadratus lumborum, lats, and thoracic spine, is safe and effective for relieving lower back tension.
How do I foam roll my lower back safely?
To foam roll your lower back safely, do not roll directly on the lumbar spine. Instead, target the surrounding muscles: roll your glutes and piriformis while seated on the roller, roll the quadratus lumborum by lying on your side, roll the lats along your side from armpit to waist, and roll the thoracic spine where the rib cage provides protection. Spend one to two minutes per area, breathe deeply, and pause on tight spots for 30 to 60 seconds.
Why can’t I foam roll my lower back?
You cannot safely foam roll the lower back directly because the lumbar spine has no rib cage to protect it. The spinous processes and facet joints are close to the surface, and a foam roller pressing into them compresses bone and joint tissue rather than muscle. This can cause inflammation, nerve irritation, and worsened pain. The muscles that affect the lower back sit to the sides and are best accessed through alternative rolling positions.
Can foam rolling help lower back pain?
Yes, foam rolling can help lower back pain when you target the right muscles. Tight glutes, hip flexors, hamstrings, and the quadratus lumborum all refer tension to the lower back. Releasing these areas with a foam roller reduces the pull on the lumbar spine and can significantly decrease pain and stiffness.
Will foam rolling help piriformis syndrome?
Foam rolling the piriformis muscle can help relieve piriformis syndrome by releasing tension in this deep buttock muscle that can compress the sciatic nerve. Sit on the roller with one ankle crossed over the opposite knee, lean toward that side, and slowly roll the buttock area. Pause on tender spots and breathe deeply for 30 to 60 seconds.
Do foam rollers help with scoliosis?
Foam rollers are not a treatment for scoliosis, but they may help manage muscle tension associated with the condition. People with scoliosis often develop tightness on one side of the back due to asymmetrical curves. Gentle rolling of the surrounding muscles can provide relief, but anyone with scoliosis should consult a physical therapist for a personalized approach before starting.
Conclusion
Learning how to foam roll your lower back without making it worse is really about learning where not to roll. The lumbar spine itself is off-limits, but the muscles surrounding it are the key to lasting relief. Target the glutes, QL, lats, thoracic spine, and hamstrings, and you address the root causes of lower back tension rather than aggravating the symptoms.
Start slow, breathe deeply, and listen to your body. If a technique produces sharp pain, tingling, or worsening soreness, stop and reassess. Foam rolling is a powerful tool when used correctly, and combining it with a consistent yoga practice gives you a complete approach to lower back care that you can rely on for years to come.