
If you have ever stood up from your desk after hours of sitting and felt a deep, nagging ache in your lower back or the front of your hip, your psoas muscle may be crying out for help. Learning how to release a tight psoas muscle at home can mean the difference between chronic stiffness and free, easy movement throughout your day.
I have spent years teaching yoga students how to identify and release tension in this hard-to-reach muscle. The good news is that you do not need a physical therapist, expensive equipment, or even a gym membership to find relief. With a few targeted stretches, self-massage techniques, and some awareness of what causes the tightness in the first place, you can release your psoas at home in under 15 minutes a day.
This guide covers everything from basic anatomy to a full step-by-step routine, plus the stress connection that most resources completely ignore.
Table of Contents
What Is the Psoas Muscle?
The psoas muscle (pronounced “so-as”) is a deep core muscle that attaches to the lower vertebrae of your spine, runs through your pelvis, and connects to the top of your thigh bone. It works together with the iliacus to form the iliopsoas, the most powerful hip flexor in your body.
Every time you lift your knee, walk, climb stairs, or sit up from a lying position, your psoas is doing the heavy lifting. It also plays a major role in spinal stability and posture. Because it connects your upper body to your lower body, tension in the psoas can radiate into your lower back, hips, and even your breathing patterns.
When the psoas becomes chronically tight, it pulls your pelvis forward into an anterior tilt. This compresses your lumbar spine and creates that familiar low-back ache. Many people chase back-pain solutions for years without ever realizing the root cause sits deeper, in a muscle they have never heard of.
Unlike surface muscles, the psoas sits buried behind your abdominal organs, which makes it hard to feel directly. This is why so many people stretch their hip flexors repeatedly and still feel no relief. They are hitting the wrong tissue.
Signs Your Psoas Is Tight
Before diving into techniques, it helps to confirm that your psoas is actually the problem. Tightness in this muscle produces a surprisingly wide range of symptoms that are easy to mistake for other issues.
Common signs include a persistent low-back ache that worsens after prolonged sitting, tension in the front of the hip when standing up, and a feeling that your hips are “locked.” Many of my yoga students also report knee pain, poor posture, and difficulty fully straightening their stride when walking.
Try this quick self-test: Lie on your back at the edge of a bed or bench. Pull one knee toward your chest and let the other leg hang freely over the edge. If the hanging leg lifts off the surface on its own or you feel a strong pull in the front of that hip and thigh, your psoas is tight on that side.
A tighter psoas on one side is extremely common, especially if you habitually cross one leg over the other when sitting. Addressing this imbalance early can prevent compensations from spreading to your knees, ankles, and shoulders.
How to Release a Tight Psoas Muscle at Home: Step-by-Step Techniques
Below are seven techniques I recommend, arranged from gentlest to most targeted. Start at the beginning if you are new to psoas work, then add more intensive techniques as your body allows.
1. Constructive Rest Position (2-3 minutes)
This is the gentlest entry point and the best place to begin every session. Lie on your back on a firm surface with your knees bent and your feet flat on the floor, hip-width apart. Let your lower back rest neutral against the floor without pressing it down.
Do nothing. Simply breathe slowly and let the psoas passively release under the weight of your body. This position gives the muscle permission to let go and is especially valuable if you have been sitting for hours.
Many of my students notice subtle tension unwinding after just two minutes. If you feel anxious or jittery during this, that is normal and a strong sign your psoas has been holding emotional tension.
2. Kneeling Hip Flexor Stretch (30 seconds per side)
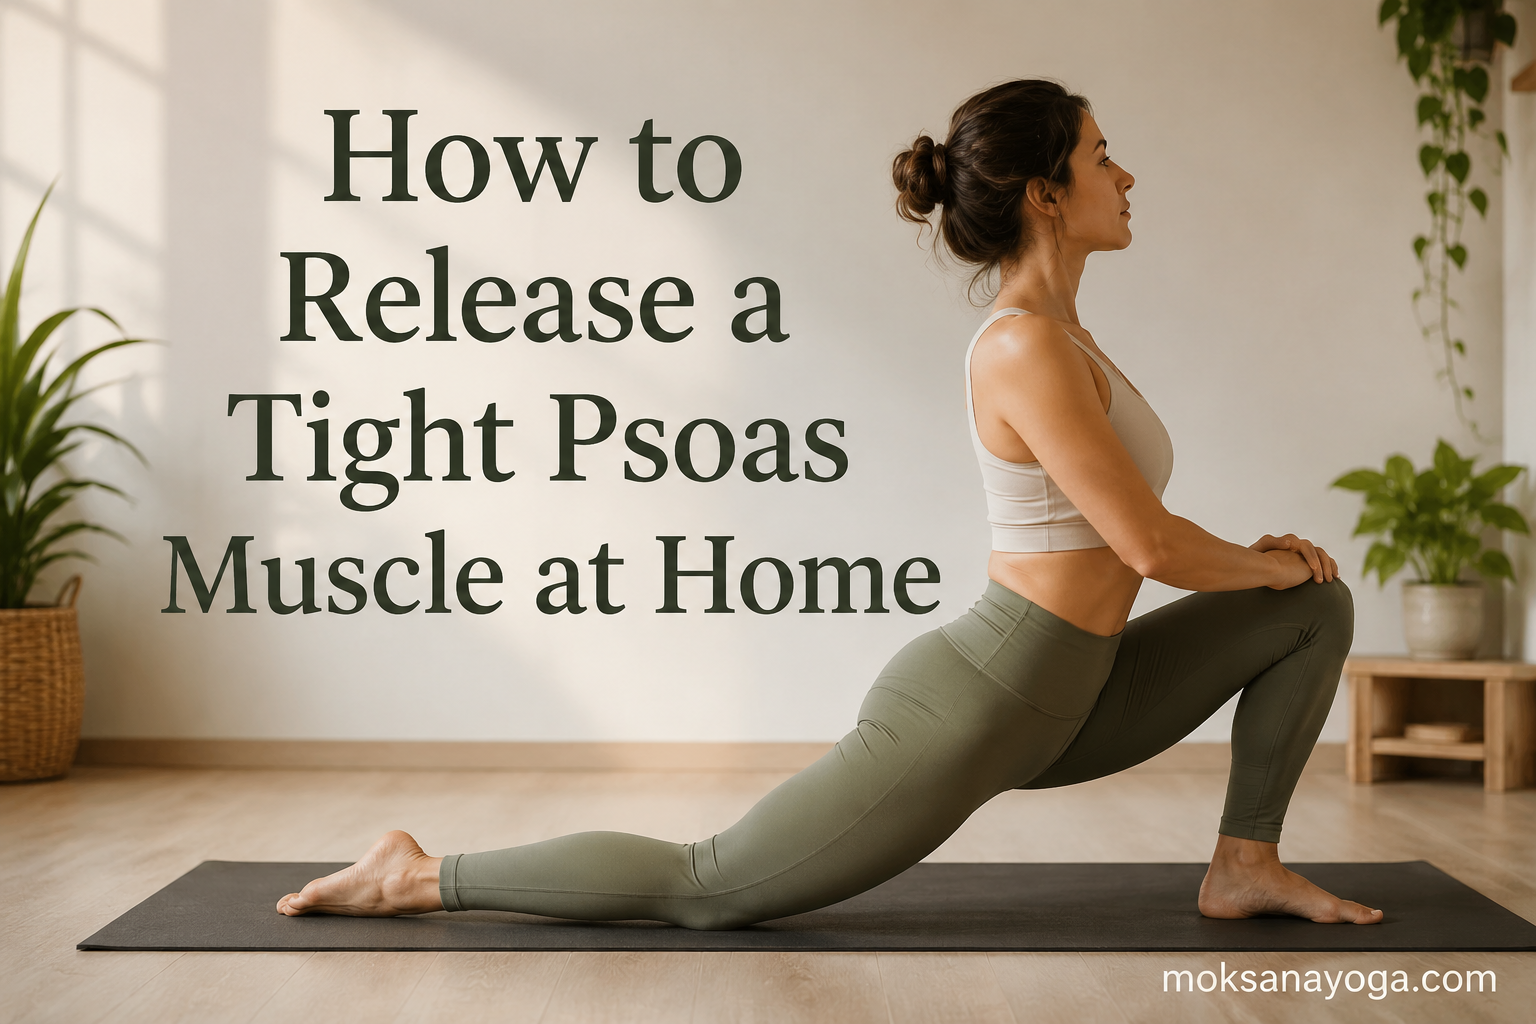
Kneel on one knee with the other foot flat on the floor in front of you, both knees at 90 degrees. Tuck your tailbone gently under and engage your glutes on the kneeling side to encourage the psoas to lengthen.
Shift your weight slightly forward without arching your lower back. You should feel a stretch deep in the front of the hip and thigh of the kneeling leg. Hold for 30 seconds, breathing slowly, then switch sides.
The key here is the tailbone tuck. Without it, you are simply arching your lumbar spine rather than actually lengthening the psoas muscle.
3. Supine Knee-to-Chest with Leg Extension (1 minute per side)
Lie on your back and pull your right knee toward your chest while keeping your left leg straight and pressed into the floor. The straight leg is where the work happens. Keep that left thigh heavy and reach through the heel to actively lengthen the psoas on that side.
Hold for 60 seconds with slow breathing, then switch. If your lower back arches off the floor on the straight-leg side, your psoas is tight and pulling on your spine. Bend the knee slightly until your back flattens, then work toward full extension over time.
4. Bridge Pose with Knee Squeeze (10 reps)
Lie on your back with knees bent and feet flat. Place a yoga block, folded blanket, or small pillow between your knees. Squeeze the block gently as you lift your hips into bridge pose, hold for three breaths, then lower down.
This activates your deep core and glutes, which are the antagonist muscles to the psoas. Strengthening these muscles helps your body let go of the overworked psoas and prevents the tightness from returning as quickly.
5. Foam Roller Release for the Hip Flexor (2 minutes per side)
Lie face down and position a foam roller under the front of your hip, just below the hip bone and to the inside of the prominent hip point. Support your upper body on your forearms.
Slowly roll along the front of the hip and upper thigh, avoiding direct pressure on the hip bone itself. When you find a tender spot, hold still and breathe into it for 20-30 seconds before moving on.
You cannot reach the psoas itself with a foam roller because it sits too deep. But releasing the surrounding fascia and surface hip flexors reduces overall tension and makes the deeper release work more effective.
6. Tennis Ball Self-Massage for the Psoas (2 minutes per side)
This is the technique that forum users on Reddit consistently recommend. Lie face down and place a tennis ball on your abdomen, about two inches to the right of your navel and slightly below it. Support yourself on your forearms.
Breathe slowly and let your body weight sink into the ball. When you find a tender spot, hold still and breathe deeply for 30-60 seconds until you feel the tissue soften. Move the ball slightly to find other tight bands, then repeat on the left side.
Be gentle. The psoas sits near sensitive organs and major blood vessels. If you feel any sharp pain, pulsing, or numbness, stop immediately and move the ball to a different spot.
Many people describe the sensation of a true psoas release as a deep, slightly uncomfortable ache followed by a wave of relief and warmth. Some even experience emotional release, since this muscle is closely tied to the fight-or-flight response.
7. Pandiculation: The Somatic Alternative (1 minute per side)
Pandiculation is the technique cats and dogs use when they wake up. It is a conscious contraction followed by a slow release, and the Somatic Movement Center considers it the most effective way to release chronic psoas tension.
Lie on your back with knees bent. Gently contract your hip flexors by pressing your lower back into the floor and slightly lifting one foot off the ground using minimal effort. Then slowly release the contraction over 5-7 seconds, letting the muscle fully let go.
This technique works by retraining your nervous system to recognize the difference between tension and relaxation. Many of my students who got zero results from stretching finally find relief with pandiculation because it addresses the underlying neuromuscular pattern.
Causes of Psoas Tightness (and How to Prevent It)
Releasing your psoas at home is only half the equation. If you ignore what caused the tightness, the relief will be temporary. The leading culprit is prolonged sitting, which keeps the psoas in a shortened position for hours every day.
Daily habits that contribute include sitting for more than six hours, sleeping in the fetal position, wearing high heels, and doing heavy abdominal workouts without compensating with stretching. Athletes who run, cycle, dance, or play soccer also tend to overdevelop the psoas without enough release work.
Here is what I recommend for prevention: Take a 30-second standing break every hour during desk work. Add a 5-minute psoas release routine to your morning or evening. Stretch after every workout that involves hip flexion. And pay attention to your stress levels.
The stress connection is real and widely overlooked. The psoas contracts in response to the fight-or-flight sympathetic nervous system. Chronic stress, anxiety, and even suppressed emotions keep this muscle in a state of constant low-grade contraction. Combining your physical routine with deep breathing, meditation, or restorative yoga will produce faster, longer-lasting results than stretching alone.
One reason so many people feel like they are not getting relief from psoas stretches is that they are addressing the symptom but not the cause. If you spend eight hours a day sitting in a stressed state and then stretch for five minutes, the math simply does not work in your favor.
FAQs
How often should I release my psoas muscle?
For best results, do a short 5-10 minute psoas release routine daily. If you have severe tightness, twice a day (morning and evening) works well. Consistency matters far more than intensity.
Can I release my psoas muscle without any equipment?
Yes. The constructive rest position, kneeling hip flexor stretch, supine knee-to-chest stretch, and pandiculation all require zero equipment. A tennis ball and foam roller add helpful self-massage options but are optional.
What does a psoas release feel like?
Most people describe a deep, slightly uncomfortable ache followed by a sensation of warmth and lengthening. Some people experience emotional release or trembling, which is normal. You should never feel sharp pain, numbness, or tingling.
Can a tight psoas cause lower back pain?
Yes. A tight psoas pulls on the lumbar spine and tilts the pelvis forward, which compresses the lower back and creates chronic aching. Releasing the psoas often relieves back pain that has not responded to other treatments.
How long does it take to release a tight psoas permanently?
There is no overnight fix. With a consistent daily routine, most people notice meaningful improvement within 2-4 weeks. Long-standing tightness may take 2-3 months of daily work, especially if stress or prolonged sitting is involved.
Conclusion
Learning how to release a tight psoas muscle at home is a skill that pays off every single day. Start with the gentlest techniques, build a consistent routine, address the root causes like prolonged sitting and stress, and give your body time to respond.
Small, consistent steps will outperform intense, sporadic stretching every time. Your psoas has been holding tension for years, so be patient with the process. Pick two or three techniques from this guide, commit to them for two weeks, and notice the difference in how you stand, walk, and feel.